Drawing your curls naturally, without adding heat, is possible. Find out how to scrunch your curly hair. A simple and effective gesture, to integrate urgently into your morning routine .
As we know, curly hair is particularly fragile. So no question of adding it by using a heating device to draw your curls. Especially since the alternatives are numerous. Among these, the finger coils , plopping but also scrunching.
Let's get rid of any ambiguity: the term "scrunch", which means "crumple" in English, must be distinguished from the term "crunch", well known to bodybuilding enthusiasts. So we are reassured, no need to have concrete abs to draw your curls, a simple "crumpling" is enough.
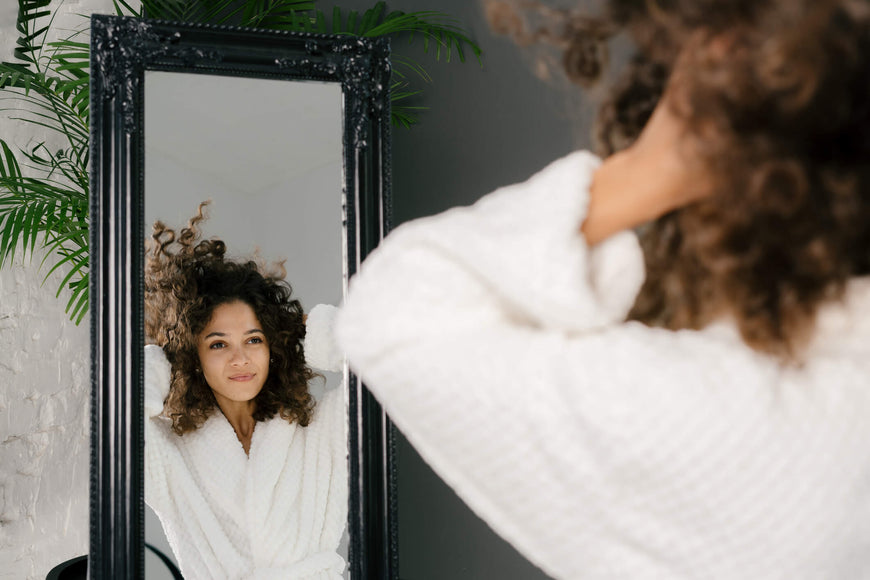
Curly hair scruncher is used to add body, volume and bounce to curls. Higher and plumper, they are better drawn.
The gesture itself is quite simple. We put the head down or on the side, we catch the tips with the palm of the hand and we make them go up in accordion to the roots. The gesture is repeated several times on each lock.
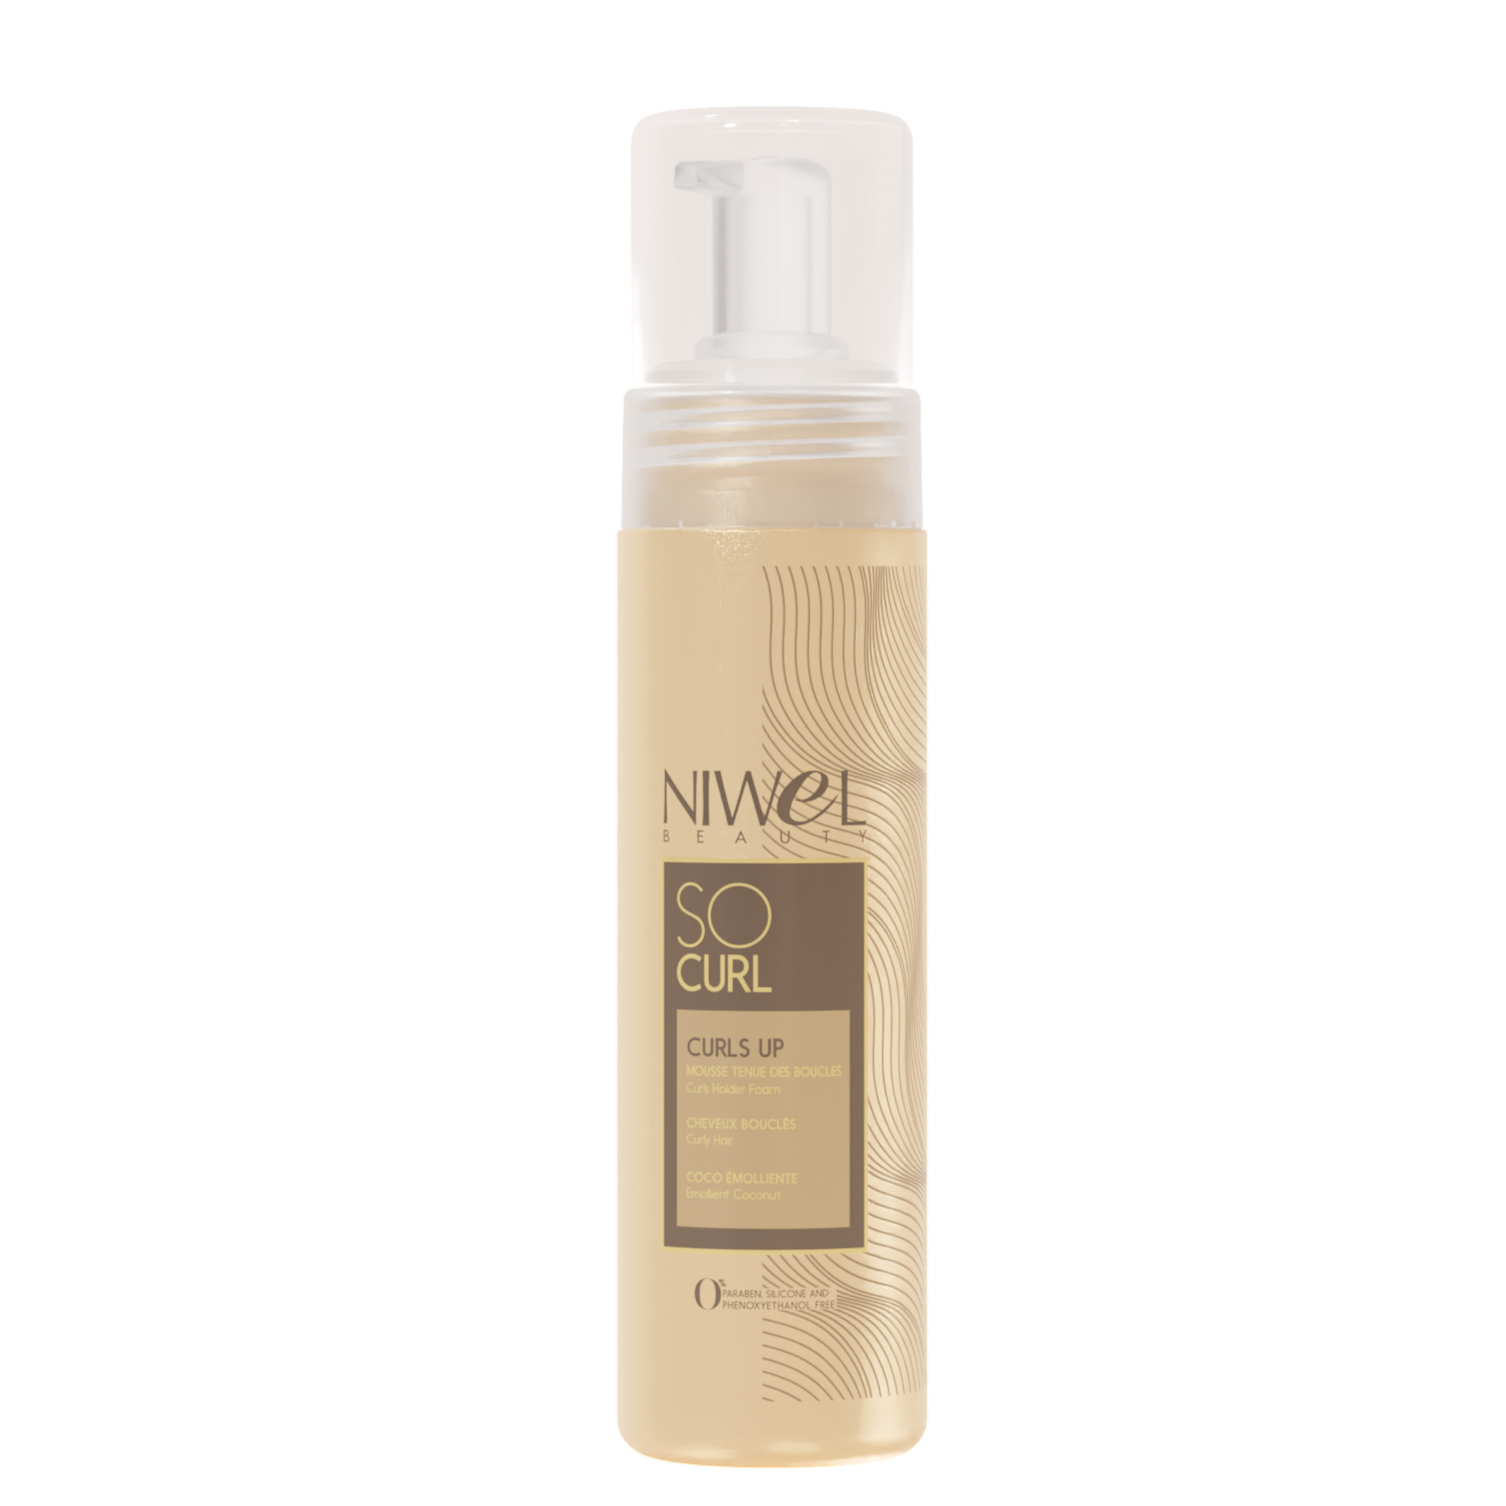
Concretely, scrunching is done on damp hair. After washing your hair, apply a leave-in styling product, to fix the movement of the curls, seal in the moisture with a few drops of vegetable oil (jojoba, grapeseed, etc.), and finally scrunch .
Wearing curls is a chance, a gift of nature. But it is also a true priesthood! The maintenance of curls goes through a demanding routine, which more or less resembles this one:
1. Oil bath
A monthly oil bath (olive, coconut, castor, argan, etc.) nourishes the hair fibre. It must be done before shampooing and left in place for at least two hours.
2. Shampoo
In order not to dry out the curls, which are already dry by nature, only shampoo once a week. We prefer a product made from ingredients of natural origin, ie without sulphate or silicone. The shampoo is carried out upside down, to better define the curls, and with lukewarm water.
3. Moisturizing mask or conditioner
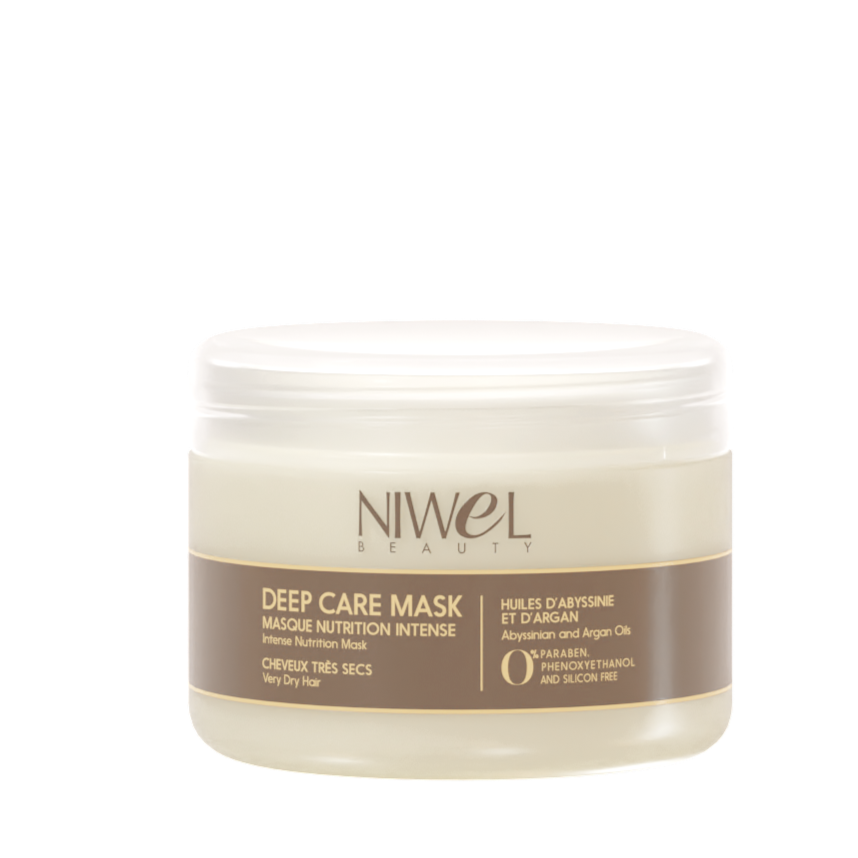
You can opt for an aloe vera mask or prepare a homemade mask. Example: mix two tablespoons of aloe vera gel, two tablespoons of coconut oil, and one tablespoon of shea butter. The mask is left on for one to several hours.
4. Rinsing and detangling
Gently untangle wet hair with your fingers, see a wide-toothed comb, working up from the tips to the roots.
5. Leave-in treatment
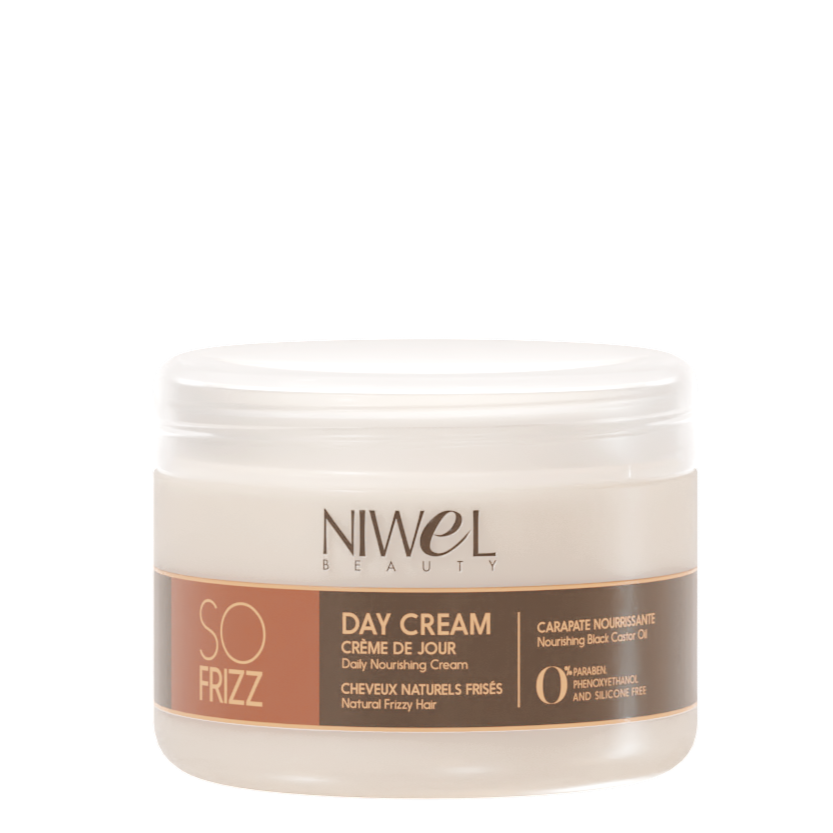
We apply the leave in on wet hair to favor the definition of the loops and we seal the hydration with a little vegetable oil.
6. Scrunching and plopping
Make way for scrunching, which can also be followed by a plopping .
7. Drying
Drying is done primarily in the open air. The hair dryer should only be used as a last resort. In this case, it is necessary to equip yourself with a diffuser and go up from the ends to the roots with cold air.


